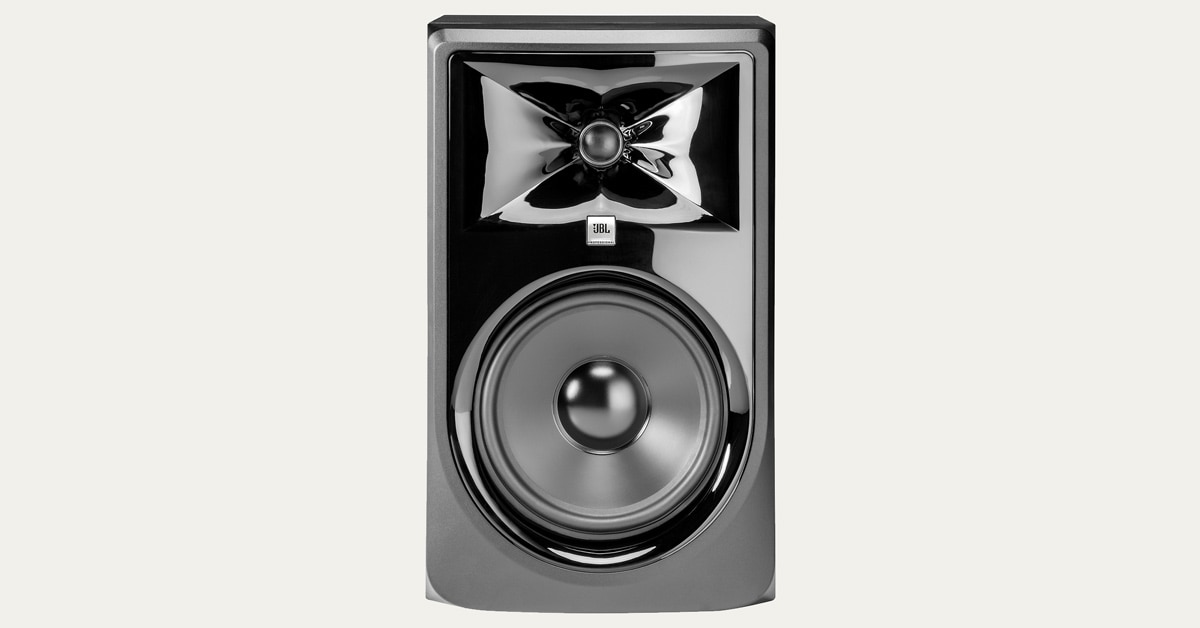
Need help choosing the best audio monitor speakers to match your music, budget and recording space? We're here to help.
Table of Contents
Understanding studio monitors
What makes a good monitor?
Monitor components: What are your monitors made of?
Powered Studio Monitors
Unpowered Studio Monitors
Studio Monitor Volume Controllers
How do I select my monitors?
Making the most of monitors
We’re here to help you hear
Studio monitor glossary
Whether you’re recording and mixing a big project or simply want to record your voice and guitar in your home studio, a set of studio reference monitors are essential. A good set of monitors will let you hear what you record with accurate detail. But before you buy a set of monitors, you most likely have some questions: What differentiates studio monitors from everyday speaker systems? What makes a good monitor? And how should an accurate monitor sound?
This guide will help you answer these and other questions so you can find the right set of monitors for your recording needs and budget.
Understanding studio monitors
When you mix music in the recording studio, your ears ultimately will guide your decisions on what adjustments to make—which frequencies to boost and which ones to roll off. The speakers you use for your playback make a big difference in how you hear those sounds. To get your mix just the way you want it, you don’t want your speakers adding any coloration—you want them to reproduce the sounds you’ve recorded accurately. This is the job of a quality studio monitor.
Studio monitors are designed to reproduce audio signals that are as flat as possible across the audible frequency spectrum. Unlike consumer stereo speakers that may be tweaked to produce a strong bass response and sound punchy, good studio monitors don’t emphasize particular frequencies over others. A good monitor will give you accurate, consistent response no matter the volume level. This allows you to listen critically to how certain elements of the mix sound at different volumes. They also capture fleeting musical transients that add subtlety and nuance to the sounds they reproduce.
Of course, it takes quality components and exhaustive engineering to make sure the signal remains flat, and this is one of the major differences reflected in the prices of studio monitors. That said, if you have a limited budget with which to equip your home or project studio, you’ll find moderately priced monitors that can do the job.
This guide will help you understand what to look for. If you’d like to start looking at the many options Musician’s Friend has to offer, you can find the complete collection of studio monitors here.
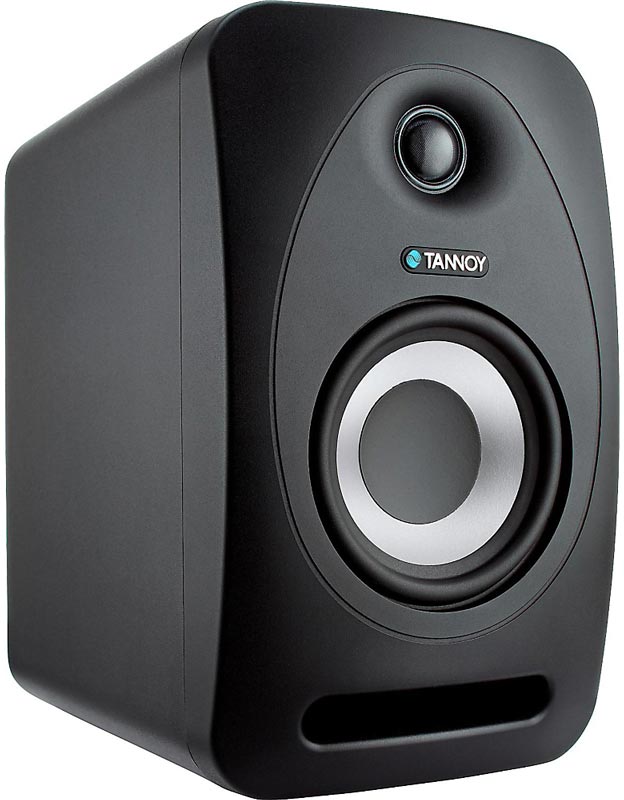
The Tannoy Reveal 402 sounds like a much bigger monitor and offers a wide sweet spot so you’re not locked into a tight mixing position.
What makes a good monitor?
A funny thing about studio monitors: The first time you hear audio played through a quality monitor with a flat response curve, it may sound all wrong. But that’s only because your ears are used to consumer-market stereo speakers, which use tuning tricks to artificially create bigger, punchier bass, and more pleasant and friendly highs among other things.
So a large part of buying monitors is preparing yourself to hear things in a different way, and that means thinking about specs and features in a different way. Rather than looking for effects like bass boost, you want to focus on how accurately your speakers will reproduce sounds in your particular studio environment.
Numbers and specifications
When you’re shopping for monitors you’ll see a lot of numbers, terms, and acronyms such as frequency response, THD, and SPL, as well as more familiar terms like watts and driver sizes. (See the glossary at the end of this guide for full definitions.)
These specs theoretically provide a thumbnail sketch of how the monitor will perform during recording, mixing, and mastering. Some specs are the result of tests conducted by the manufacturer to determine the performance of their products.
While specifications are helpful, keep in mind that the tests that determine specs often are not standardized, so one manufacturer’s 0.01% THD may be another’s 0.3% THD. The information is still useful to you as a prospective buyer as long as you recognize that specs are just a starting point. Ultimately, you have to trust your ears—and those of gear reviewers and fellow musicians. There’s no substitute for careful, critical listening. Reading reviews both by experts and users can help you hone in on your best options.
Frequency range
Since you want accuracy from your monitors, one of the first things you will want to confirm is that they can handle the full frequency range of your recordings. Most monitor specs list the lowest frequency they handle in Hz (hertz) and the highest frequency in kHz (kilohertz). For most recording work a frequency response of 50Hz-20kHz is adequate. As we’ll discuss a little later, the overall frequency range may be a little less critical than the monitor’s ability to reproduce all those frequencies without distortion or variations.
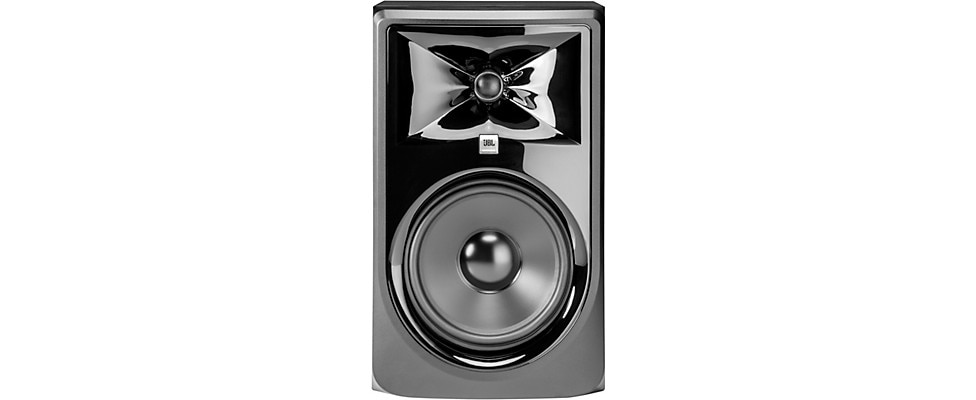
Musicians on tight monitor budgets give the JBL 308P MKII high marks for its accurate and powerful output.
Before you decide that a monitor is worthy based on its frequency range, keep in mind that this specification on its own doesn’t tell you how the monitor will handle frequencies. Sure, the monitor you’re looking at can handle a range from say 40Hz-21kHz, but how can you be sure it will reproduce those frequencies relatively evenly?
You want to see an indication of how much variation there will be across the frequency range. This is expressed in decibels. So, for instance, if a monitor’s frequency range spec is listed as 40Hz-21kHz ± 2dB, that indicates that some frequencies may be louder or softer by as much as 2 decibels at various points across the full range.
For most applications, a rating of ± 3 dB or less will provide well balanced sound.
If you work with bass-heavy music such as hip-hop or EDM, or work with 5.1 or 7.1 surround sound mixes, you might want to consider a studio subwoofer, which will handle frequencies down to 30Hz or lower.
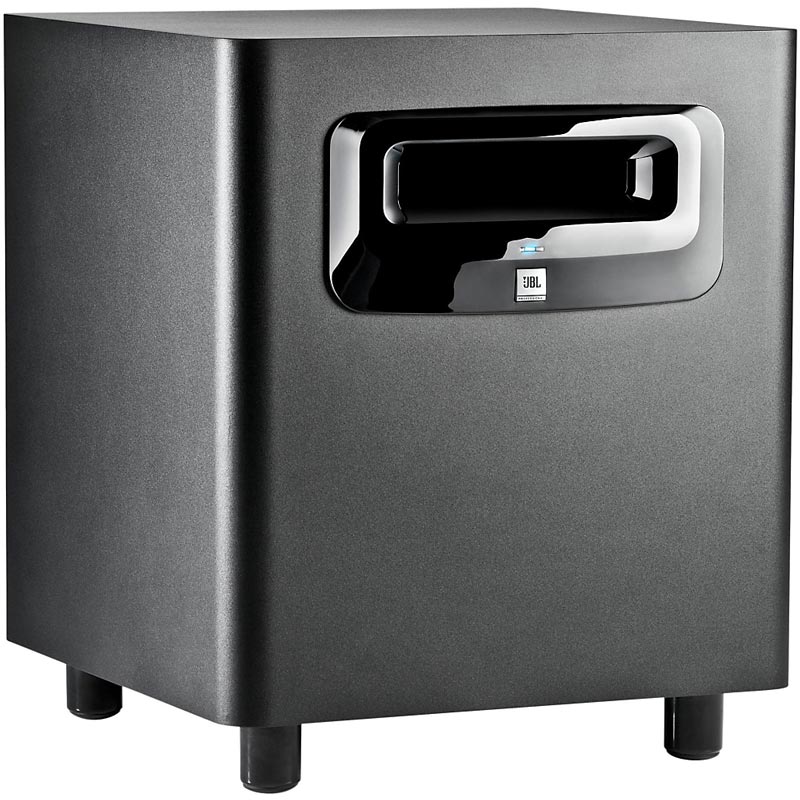
The JBL LSR310S Studio Subwoofer reaches way down to 27Hz to help you mix your low-frequency material with accuracy.
We stopped by the JBL booth at Winter NAMM 2018 to take a look at the JBL 3 Series MKII Studio Monitors.
Total harmonic distortion (THD)
The spec for THD (total harmonic distortion) is also an indicator of general accuracy, but in a different way than frequency response. THD lets you know how cleanly a monitor can reproduce whatever audio you feed it. Most of the time the term THD really refers to THD+N, (Total Harmonic Distortion plus Noise) so when you see THD, you can usually include noise in the equation.
Every audio circuit adds some noise and distortion; the question is how much. A clean audio circuit should be very close to zero in the amount of distortion and noise it adds, i.e. about 0.001%. A poorly designed audio circuit will add quite a bit of distortion, in the range of anywhere from 0.3 to 1%. While you aren’t likely to see these types of numbers on monitors, you often will see numbers this high (and higher) on consumer audio speakers and headphones; another reason why you shouldn’t use them for recording.
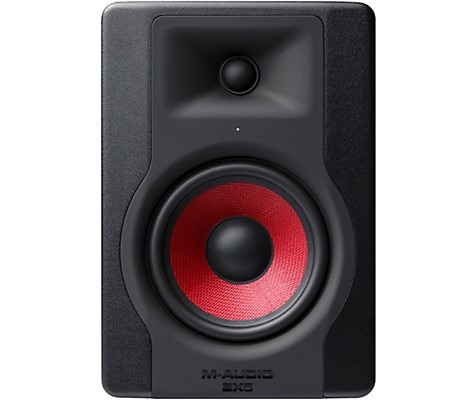
The M-Audio BX5 D3 Crimson Monitor has an isolated high-frequency driver to minimize distortion and delivers smooth response up to 35kHz.
Wattage
While it’s usually not as much of a concern for studio situations, the power of your studio monitors, measured in watts, might be a specification to consider particularly for larger rooms or studios. Generally, 10-60 watts should be plenty for a bedroom or home office-sized studio. Larger rooms and mid-sized studios may require more than that. With powered monitors that contain their own onboard amplifiers, manufacturers match wattage to each driver for optimal performance across the driver’s frequency range.
Near-, far-, or mid-field design
When you browse Musician’s Friend for studio monitors, you sometimes will see the terms near-field, mid-field, or far-field within a monitor’s description. Ultimately, this refers to the listening configuration a monitor is designed for, with near-field being optimized for a close listening distance and far-field designed to carry the sound accurately over a greater distance.
Using a compact design and relatively small speakers, near-field monitors are good for most studio applications because they allow you to primarily hear the sound coming directly from the speakers, rather than sound that reflects off the walls and ceiling. They are positioned directly in front of you and angled inward so your head forms the point of an equilateral triangle between the two monitor enclosures. The optimal listening position is referred to as the “sweet spot.”
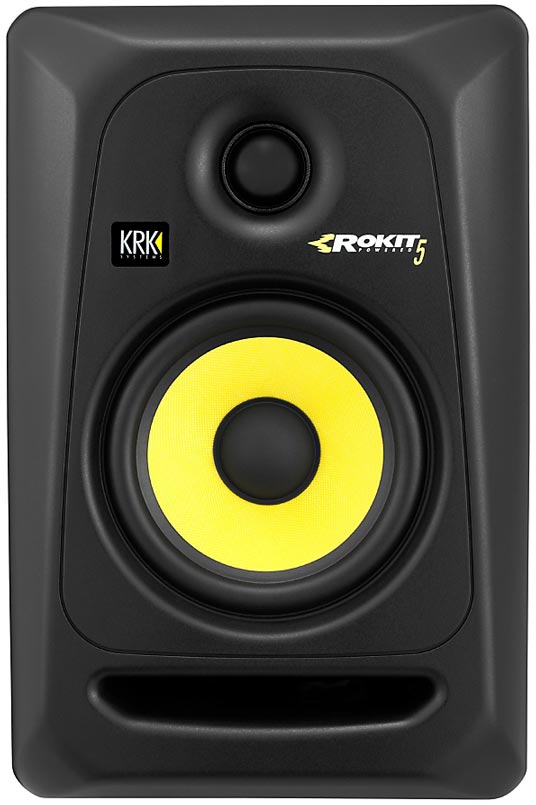
The KRK Rokit Powered Generation 3 Near-field Monitor offers excellent bang for the buck with surprisingly powerful bass response and overall accuracy.
If you have a larger room where the speakers need to be positioned further away, mid- or far-field monitors will be better suited. Keep in mind that with mid- or far-field monitoring the room you are working in must be acoustically treated to get accurate audio reproduction from your monitors. You can browse the Musician’s Friend selection of acoustic treatments you’ll need here.
Monitor components: What are your monitors made of?
The modern monitor is made of three primary parts: the drivers, the cabinet, and the electronic circuitry. Powered monitors—by far the most popular type these days—also include an internal amplifier.
You can’t really single out any one component as being more important. Every part is designed to work in conjunction with all the others. Having a great driver doesn’t do much good if the cabinet isn’t properly designed for use with that driver.
Drivers
There are two types of drivers in the typical monitor: woofers and tweeters.The more uncommon three-way monitor also has a midrange driver.
In 2.1, 5.1, and 7.1 surround-sound monitoring setups there will be a separate subwoofer (the .1 in such configurations).
In a two-way monitor, the woofer handles the low, low-mid, and midrange frequencies, while the tweeter handles the high-mids and high frequencies. With a three-way monitor, a midrange driver is added to handle the midrange frequencies. When you add a subwoofer to your monitoring array, the sub takes over a portion of the low frequencies and all of the very low frequencies.
Manufacturers use different materials to construct their drivers. Silk, mylar, glass, carbon, titanium, and metal alloys are all used to make tweeters. Mylar is a synthetic polymer developed in the 1950s that mimics silk, but is unaffected by humidity. Glass and carbon are used for applications where very high power handling is needed and produce an accurate, extended high-frequency (HF) response. The same is true of metal tweeters made of titanium and other metal alloys, which produce precise, extended HF response and can handle higher power.
Woofers, midrange drivers, and subwoofers are usually constructed in a conical shape with a dust cap at the center and a flexible-but-tough surround that allows the cone and voice coil to move in and out. The cone is usually made from treated paper or cloth, polypropylene, aramid fibers, fiberglass, or Kevlar. Paper and cloth are traditional cone materials used for their silk-like performance at a lower cost. Polypropylene, aramid fibers, fiberglass, and Kevlar are all alternative cone-building materials developed in a search to build the ultimate durable speaker cone. A lighter cone may have a faster transient response, which results in more accurate sound by responding more quickly to dynamic, high-frequency changes in the music.
Cabinets
A well designed studio monitor cabinet gets maximum performance from its drivers. Engineers design the cabinet around the driver. It should be as non-resonant as possible so the cabinet doesn’t alter or color the output in any way. For that reason, monitor cabinets are usually built from sturdy, stiff materials such as metal or dense plastics with internal bracing and specially designed joints to eliminate unwanted resonance.
The cabinet design often will also include ports or passive radiators—elements that aid the monitor in low-end reproduction, improving clarity and handling of bass frequencies. Radiused edges on driver openings and monitor corners improve sound clarity and sound imaging by cutting down on sound wave diffraction.
Circuitry
Aside from deciding whether you need a powered or unpowered monitor (more on that below), your main concern should be the types of connections it has. Check the inputs offered by the monitor to make sure they will work with your existing equipment. For connections, monitors usually have 1/4", TRS, XLR, RCA, or S/PDIF jacks. Some offer only unbalanced or balanced inputs, and some have both.
Improve your connections IQ with our Cable Buying Guide.
Powered Studio Monitors
Powered studio monitors, sometimes referred to as active monitors, are by far the most popular choice for project and home studios. By housing their own amplifiers they eliminate the need for an external amp to drive them. Many are bi-amplified—each speaker has its own dedicated power amp designed to handle its frequency range, thus allowing the speaker to function optimally.
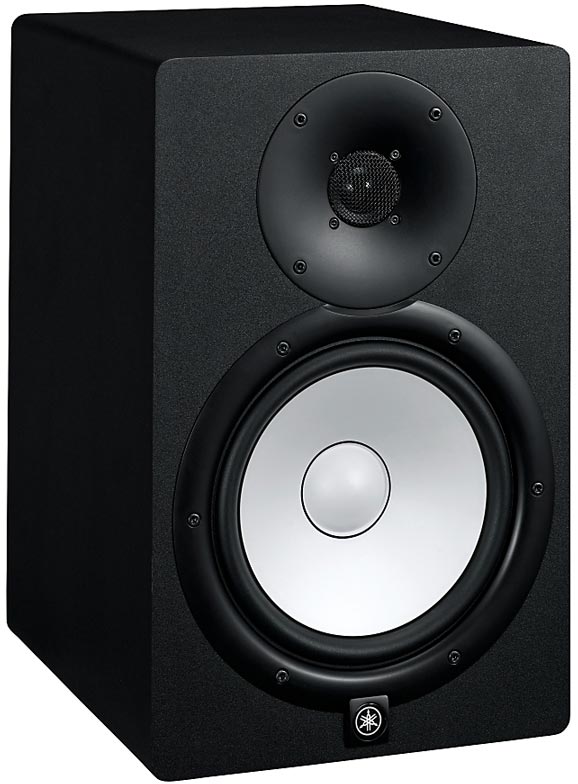
The Yamaha HS8 Powered Studio Monitor uses bi-amplification to individually power the low- and high-frequency drivers.
Take a quick video tour of Yamaha’s HS Series studio monitors.
Unpowered Studio Monitors
While they don’t offer the convenience of powered units, unpowered studio monitors, also called passive monitors, have their own advantages. Because they require a separate, external power amp, these monitors gives you some flexibility in choosing your components and setting up multi-speaker arrays. They also usually have crossover circuitry for splitting of high and low frequencies.
Additionally, for those who already have a power amplifier for their studio, unpowered speakers may offer a price advantage since their cost does not factor in an onboard amp.
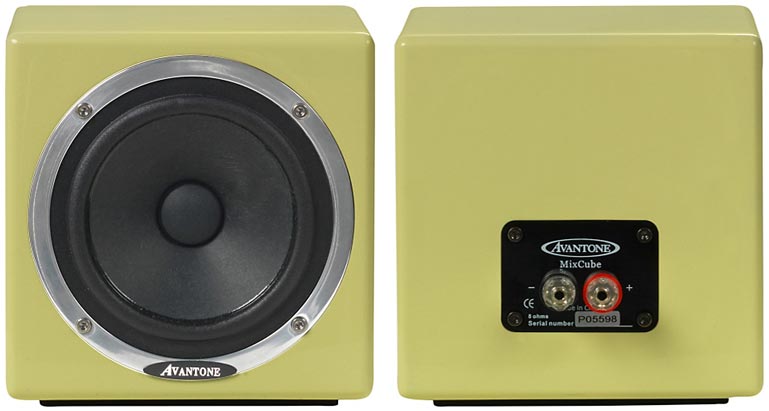
The unpowered Avantone Mixcube is a popular choice for determining how your music will sound when played back on smaller, consumer-grade audio equipment.
Studio Monitor Volume Controllers
If you are serious about getting great sound from your mix, you may have multiple monitor pairs set up in your studio. You might use both mid- and near-field monitors in your home studio for different points of reference. Or maybe you want to switch from the accuracy of your studio monitors to see how your recording will sound on a consumer-grade stereo system.
If any of these situations apply to you, you’ll want a good studio volume controller that will let you quickly and easily balance levels between monitors and switch between speaker sets. Make sure you find one that will accommodate the number of speaker outputs you’ll need. And if you will be switching between audio sources, make sure the controller has this capability built in as well. You’ll find a number of monitor controller options here.
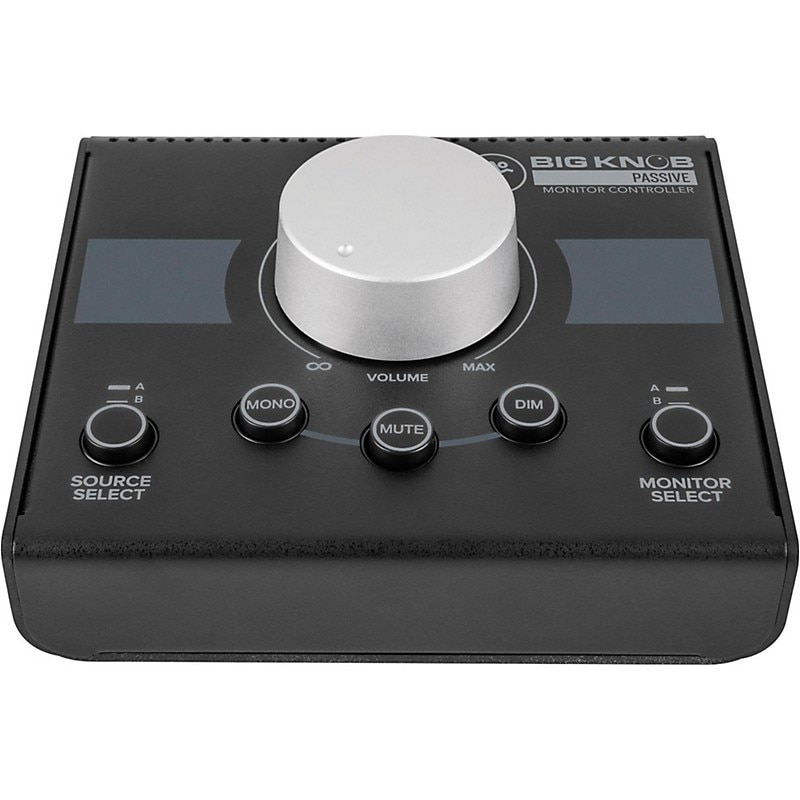
The Mackie Big Knob Passive Monitor Controller is a control room tool that combines level control, monitor switching, and source selection, and includes talkback functions.
How do I select my monitors?
The ideal monitor will vary from person to person and application to application. What works for you might not work for other musicians and vice versa, so finding a monitor that works for you isn’t as easy as simply asking your friends and fellow musicians what they use and purchasing the same model.
In general, a good monitor is one you can trust, that your ears know very well, and that you can listen to for extended periods of time without fatigue. The circuitry and speakers should be solid—capable of handling your volume and frequency-handling requirements along with peaks, pops, and raw recorded audio without faltering.
As with all things in life, you get what you pay for. There’s a pretty strong correlation between price and performance where monitors are concerned. Professional-level use warrants a professional-level budget, but hobbyists and recording musicians can stay within their budget and still buy monitors capable of providing solid audio guidance when recording and mixing their music.
For instance, if you mostly record yourself singing and playing acoustic guitar, a small pair of near-field monitors will likely meet your needs. If you’re producing hip-hop tracks to freestyle over or club-inspired pop songs, you may want to get a subwoofer-assisted 2.1 system. Producing songs and soundtracks for video games, videos, movies, or television? A 5.1 or 7.1 surround sound system is the way to go. If you’re recording rock bands or working with a wide variety of talent, consider monitors with 8" woofers and plenty of power so your system will always be up to the task.
Buy the best monitors you can afford and then learn to use them really well. It might not be as easy or as glamorous as getting the latest, greatest, biggest, and best set of near-field monitors available, but if they work for you, who cares? Nearly any decent near-field monitor on the market today is going to blow your stereo or computer speakers out of the water in terms of accuracy.
Making the most of monitors
How do you learn to use your monitors? Good question. It shows you’re paying attention. Start by listening to your monitors a lot. Not just when you’re recording, but with a selection of your favorite recordings too; those you know really well.
As we mentioned at the outset, be prepared for your monitors to sound different from ordinary stereo speakers. Keep listening, get past the flat, unhyped sound, and with time you’ll learn how your monitors react to different musical material. This will help you to understand not only what your monitors are good at, but also what they’re not good at—and how you should compensate for those shortcomings so your mixes still sound like you bought monitors on a pro-studio budget.
If you’re using a 2.1 system, its abundance of bass output may trick you into believing your mixes have adequate bottom end, but when you play back your audio on a smaller, consumer system, the bass may all but disappear. So check your mixes on several systems and mix against your system’s strengths.
One final thing to note about your new monitors. You can’t just put them up on a bookshelf behind your recording setup, crank ‘em up, and call it a day. Near-field monitors are designed to be placed close by, generally within 3-5 feet of the listener, without obstacles that might impede the sound waves coming from the drivers. That includes the walls, since reflected sound waves from behind or beside your monitors can color the way you hear.
Monitor pads will isolate your monitors from whatever surface you have them sitting on, enhancing their accuracy. You’ll also want to set them up so you’re automatically positioned in the sweet spot when you sit down to mix. Monitor stands can also help in positioning them optimally, and acoustic treatment can improve your monitoring environment, even when using nearfield monitors.
Learn more about recording and how monitors fit into the home studio picture with our Recording Gear Buying Guide.
Can’t hack the price of monitors right now? Read Can I Record & Mix Music Just Using Headphones?
We’re here to help you hear
After you’ve read this guide, if you still can’t decide which studio monitors are best for you, call a Musician’s Friend Gear Head at 877-880-5907 for help figuring it out. We’ll listen and provide feedback—the good, helpful kind!
Studio monitor glossary
1/4" jack — Also known as phone plug. Unbalanced connection using a phone-patching cord connector. The most basic connection in audio.
2.1 — A monitoring setup with two main monitors and a separate subwoofer for handling bass frequencies.
5.1 surround sound — see surround sound.
7.1 surround sound — see surround sound.
Bass — Refers to the low frequency portion of an audio signal usually from 20Hz up to about 150Hz. Also generically refers to notes with a low pitch.
Balanced — An audio circuit with two shielded conductors running at reverse polarity and equal at ground. Balanced wiring provides noise-free transfer of audio in areas susceptible to electrical interference, like recording studios and live sound venues. Requires balanced I/O and balanced cables.
Biamplification or Biamped — The practice of using separate power amplifiers and a crossover network to drive separate elements in a loudspeaker cabinet. Often combined with active amplification, where the amplifiers are built into the cabinet of the speaker.
Cabinet — Also cab or speaker cabinet. Cabinet commonly refers to the enclosure a driver is mounted in. The enclosure serves several purposes besides simply housing the driver and its circuitry. It prevents negative phase sound waves from the rear of the driver causing phase cancellation with the positive phase sound waves from the front of the driver and also improves the efficiency and frequency response of the drivers.
Decoupling — Or decouple. The process of isolating monitors from their supporting structure to prevent undesired transmission of sound and vibration. Specially designed pads and stands serve this function.
Diffraction — The bending of a sound wave that occurs when it is deflected from its path by an object.
Driver — Refers to the raw speaker mounted in the cabinet or enclosure. It is the active part of the speaker system that actually creates the soundwaves.
Ear fatigue — Condition which occurs after many hours of listening and working with audio, usually while mixing. Seems to happen especially often when monitoring audio at high volumes or when listening to audio with exaggerated frequencies, e.g. too much treble or midrange.
Flat sound — Also flat response. A speaker or other piece of audio equipment with flat response won’t naturally boost or cut any frequency when an audio signal is played through it. Theoretically, a flat input signal will emerge just as flat as it went in although this is practically impossible with current monitor technology. The term originates from frequency response graphs where flat response is represented as a flat line devoid of peaks or valleys.
Frequency — Refers to specific sounds and certain segments of audio defined by its pitch, e.g. treble frequencies, midrange frequencies, bass frequencies, etc. The standard definition for frequency is the number of times an event occurs within a unit of time. The frequency of sound vibrations related to their wavelength results in the pitch of the notes we hear in music. The open low E string on a bass guitar generates a fundamental frequency of 41.5Hz. The high open E string on a standard guitar generates a fundamental frequency of 1.3kHz.
Frequency range — The range of frequencies a piece of audio gear can transmit or reproduce. Usually specified in form such as 20Hz-20kHz. When combined with THD it gives you some idea of the accuracy of the component. The wider the frequency range, the more frequencies you will hear clearly.
Frequency response — The result of frequency range versus amplitude. The spec (20Hz-20kHz ±3dB) means that for a given input signal the listed range of frequencies (20Hz-20khz) will be reproduced within the specified range of levels (±3dB) compared to the original signal. Any frequencies outside this range may or may not be within the range of levels. For example: a piece of equipment with a flat frequency response will give you a more accurate impression of how your audio really sounds.
Hertz — Abbreviated Hz. Hertz is the unit used to measure frequencies and one Hertz is equal to one cycle per second, e.g. a 60Hz sine wave completes 60 cycles per second. Kilohertz—abbreviated kHz—is often used once the cycles per second pass one thousand. The Hertz is named for Heinrich Hertz, a 19th-century German physicist who was one of the first scientists to study radio waves.
I/O — Short for input/output. Generally refers to the connections on audio gear.
Mastering — A process in which the final recording of an audio performance is prepared and processed for its intended distribution media. This usually involves using limiting, compression, EQ, normalization, stereo imaging, and editing to achieve a professional and consistent sound aimed for modern radio and quality playback equipment.
Midrange — Refers to the middle-frequency portion of an audio signal usually from 150Hz up to about 2.5kHz. Also generically refers to notes with a medium pitch.
Midrange driver — The driver in a multi-driver speaker designated to reproduce the midrange frequencies.
Mixing — The process of using a mixer, either hardware or software, to adjust and balance levels and frequency content of an audio performance or recorded audio in an effort to pleasingly enhance the audio.
Monitor — Also studio monitor or reference monitor. A speaker system specifically designed for high-fidelity playback of audio material for critical listening during the recording and mixing process. Varieties include near-field, surround, active, and passive. Near-field monitors are designed to be used in very close proximity to the listener to reduce interference from the room acoustics. Active monitors have built-in power amps that eliminate the need for an external amplifier. Passive monitors are require an external power amplifier.
Near-field monitor — A monitor designed to be placed closer to you—or more specifically, your ears—than anything that might interfere with the sound waves coming from the speaker, such as a wall, ceiling, furniture etc. See sweet spot for placement suggestions.
Phase — A measurement in degrees that specifies how far along in its cycle a sound wave is, with a complete cycle being 360 degrees. If two waves are out of phase it results in cancellation of parts of both waves. Two identical waves exactly 180 degrees out of phase will completely cancel each other out.
RCA — More correctly called a phono plug, this connection was developed and popularized by Radio Corporation of America (RCA) for use with their audio equipment. Most often used in stereo pairs.
Reference monitor — Also soffit-mounted monitor. A large, traditional monitor used in specialized installations with an infinite baffle in professional music studios. These expensive monitor setups reside eight to 10 feet or more away from the listening position.
S/PDIF — Abbreviation of Sony Philips Digital Interface Format. Interface for digital audio that uses either optical or coaxial cables for transmission. S/PDIF is based on the AES/EBU standard and can provide two channels of 24-bit/96kHz audio in one direction. Only use 70ohm S/PDIF cable to make a S/PDIF connection. Some monitors have S/PIDF connectors.
SPL — Sound Pressure Level. The measurement of the volume, or amplitude, of a sound wave. SPLs are measured in decibels (dB).
Sound wave — A series of compressions in the air that transmit sound. Sound waves are represented visually by a wavy, horizontal line with the upper part of the wave indicating compression and the lower part indicating rarefaction.
Subwoofer — A driver used to reproduce very low frequencies and sometimes housed in a separate enclosure from the woofer, midrange driver, and tweeter.
Surround sound — Multi-channel audio system that creates a 3D sound stage. Developed by Dolby Labs, surround sound typically includes 5.1 channels, meaning a center channel; l/r front channels; l/r rear channels; and a subwoofer. A second configuration, 7.1 adds two surround speakers at the sides for a more encompassing audio field.
Sweet spot — The optimal listening position for studio reference monitors. Provides the listener with the right blend of tonal balance, stereo separation, detail, and overall sound image. In general, the sweet spot for a pair of near-field monitors is three to five feet in front of and midway between the pair, with the listener’s ears about the same level as the top of the woofer and bottom of the tweeter. Your head and the two monitors should form an imaginary equilateral triangle. Some monitors have a wide sweet spot that is easy to find, while others require more experimentation with placement.
THD — Total Harmonic Distortion. Nearly all electronic components distort the audio signal that passes through their circuitry to a greater or lesser degree. The measurement of this distortion is usually represented as a decimal percentage of the signal; i.e. — <0.03%. The closer the percentage is to zero the less distortion and the more transparent the sound. Typically the specification for THD actually refers to THD+N, which is THD plus Noise.
Transient response — often used to mean slew rate, which is the ability of the speaker to accurately track fast changes in amplitude, which results in clear, clean, accurate sound. Since a low slew rate can result in poor transient response, the terms are sometimes used interchangeably in reference to speakers. A speaker with a high slew rate has better transient response and therefore sounds more accurate. Transients are critical bits of high-frequency sound our ears and brains use to recognize sounds.
Treble — Refers to the high-frequency portion of an audio signal usually from 3kHz up to about 20kHz. Also generically refers to notes with a high pitch.
TRS — Stands for Tip, Ring, Sleeve. TRS is a balanced circuit that uses a phone plug-style connection with three conductors (the tip, the ring, and the sleeve) instead of just two (the tip and the sleeve).
Tweeter — The high-frequency driver in a multi-driver speaker.
Unbalanced — An audio circuit whose two conductors are unequal at ground, usually because one conductor operates as a ground. An unbalanced audio circuit is more susceptible to noise problems than balanced circuits. Noise can be combated by keeping cables as short as possible.
Woofer — The low-frequency driver in a multi-driver speaker. Woofers are designed to accurately reproduce low frequencies which require more excursion of the driver than high frequencies. Woofers used in very low-frequency applications are called subwoofers.
XLR — Balanced, circular three-pin connector typically used for microphone and line-level signals. Each pin is a separate channel, but pin 1 is always ground. The connection was developed by Cannon and is sometimes called a Cannon connector.


